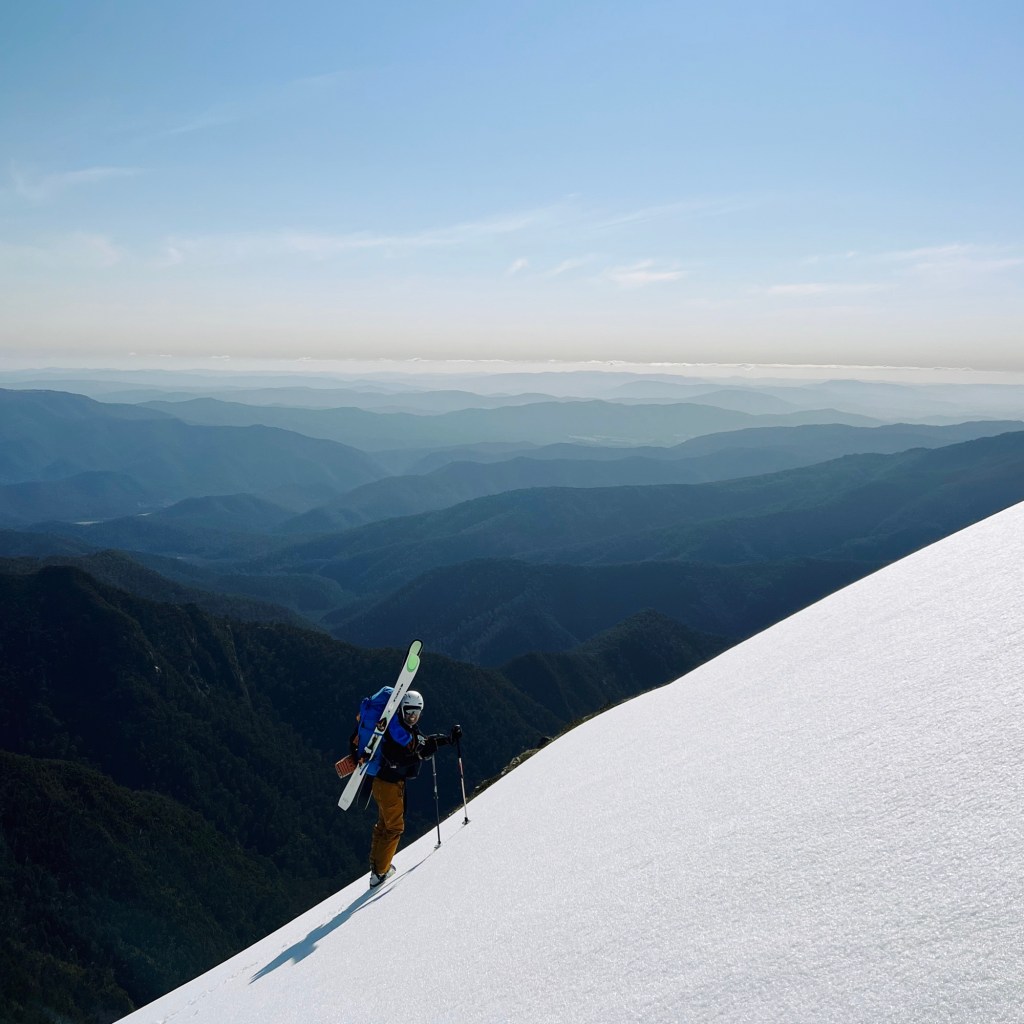
When I head out touring with someone, it’s not just because I like hanging out with them. It’s because I trust them. Trust them to have my back if something goes wrong, whether that’s an injury, broken gear, or unexpected weather.
Being that kind of partner means showing up prepared. These days, my backcountry buddies know I’m always carrying whatever we need, be that a spare binding strap, a blister pad, or even an emergency shelter. It might look like overkill laid out on the floor, but I’ve genuinely used everything on this list.
So here it is, my go-to splitboarding packing list for a backcountry day trip.
Skip to:
- Splitboard Hardware
- Avalanche Safety Gear
- Clothing & Extra Layers
- First Aid Kit
- Emergency Kit
- Repair Kit
- Toilet Kit
- Food & Water
- Optional Extras
- Heading Out for an Overnight Trip?
- Did I Miss Anything?
Splitboard Hardware
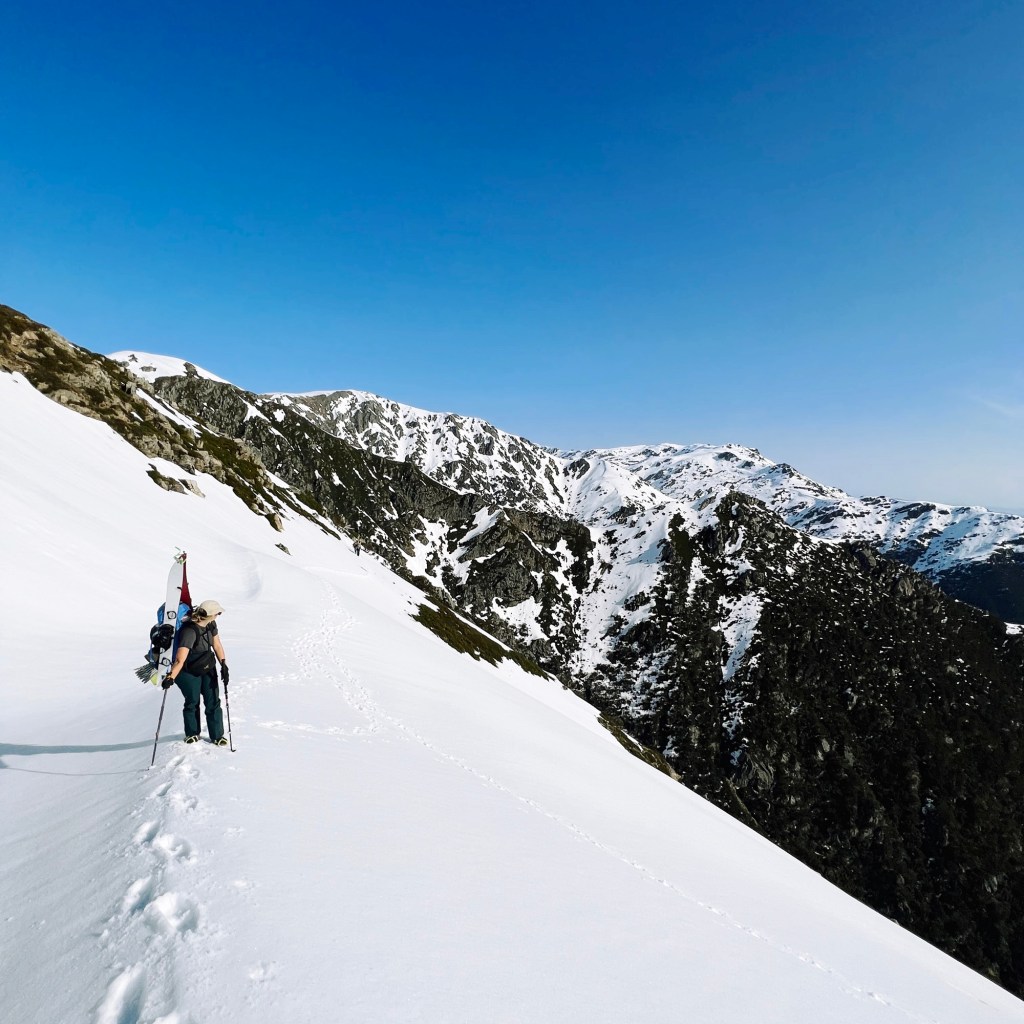
Splitboard Setup (or Snowboard + Snowshoes): A splitboard is basically a snowboard that’s sliced down the middle, to be able to tour uphill on two skis, then clip it back together to ride down. They’re not cheap especially with the added cost of climbing skins, bindings, and pucks. If you’re just getting started, plenty of people use their regular snowboard with snowshoes to access the backcountry.
Snowboard Boots: Just like hiking boots, you don’t want to go from box to backcountry in brand new snowboard boots. Break them in with a few shorter tours or resort laps first (thank me later).
Climbing Skins: These stick to the base of a splitboard to give you traction on the uphill. They come in all different materials; some grip better in icy conditions, others glide better in powder. Find the right pair for where you tour. Make sure to store these in the freezer over summer to protect the glue. This is what I use.
Poles: Either telescopic or collapsible folding poles. This is what I use.
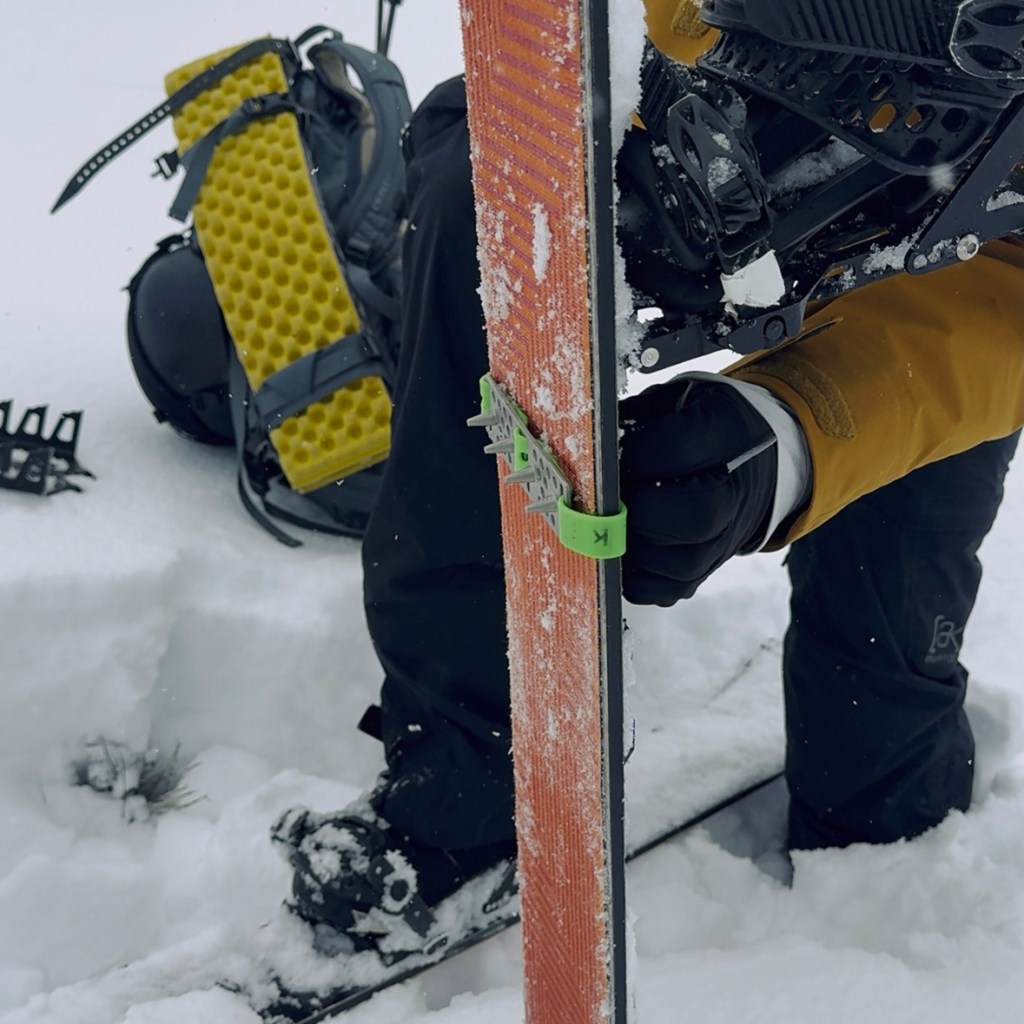
Splitboard Crampons: Different to boot crampons, these are perfect for icy skin tracks. This is what I use.
Skeats (Skin Cleats): These double as a spare ski tie for an A-frame carry or incase binding breaks. This is what I use.
Backpack: Opt for one with both split-board and snowboard carry options, helmet carry sling, dedicated avy pocket, and goggle pocket. This is what I use.
Helmet: You’re statistically more likely to suffer a head injury in the backcountry than die in an avalanche (in Australia). Trees, rocks, hard packed snow… protect your brain. This is what I use.
Avalanche Safety Gear
Avalanche gear is useless if you don’t know what to do with it, so make sure to take a Avalanche Safety Training Level 1 (AST1) course before heading out without a guide.
Avalanche Beacon (Transceiver): Different to a personal locator beacon (PLB). Always check battery level before leaving home. This is what I recommend.
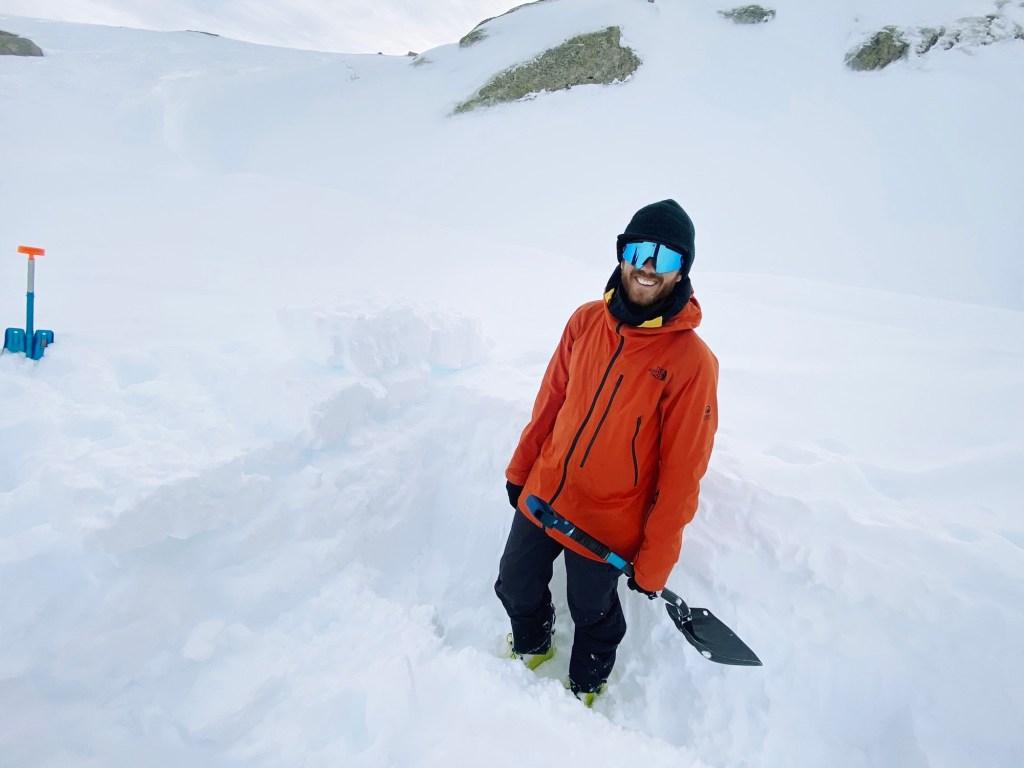
Shovel: Not just for digging out avalanche debris or rescuing someone from a tree well, it’s also perfect for building tent platforms or carving out a sunset lounge. This is what I recommend.
Probe: This is what I recommend.
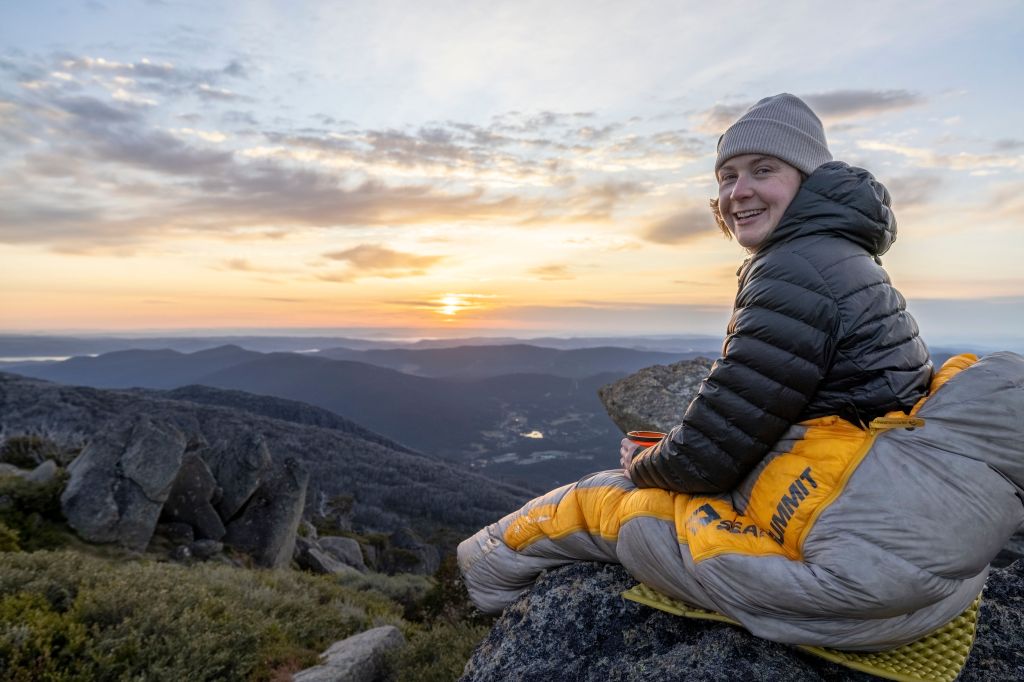
Clothing & Extra Layers
Conditions change fast, so even on clear days always plan for the worst conditions.
Shell Jacket: Fully waterproof and windproof. This is what I use.
Thermals: I prefer merino (no stink, even when sweaty). This is what I use.
Puffer Jacket: Down or synthetic (personal preference). I use synthetic for spring as it’s easier to wash when I sweat more, and down for peak winter for max warmth. This is what I use.
Buff/Balaclava: A buff also helps for sun protection in Spring. This is what I use.
Beanie & Sun Hat: Essential for spring tours. This is what I use.
Sunglasses & Goggles: Photochromic lenses are handy in the ever changing conditions of the backcountry. This is what I use.
Sunscreen: Don’t skip it. Snow burn is brutal. This is what I use.
3 x Sets of Gloves:
- Liner gloves: For that extra layer of warmth. This is what I use.
- Shell gloves: Perfect for sweaty ascents, or spring conditions. This is what I use.
- Outer gloves or mitts: Super warm for the cold conditions and the descent. This is what I use.

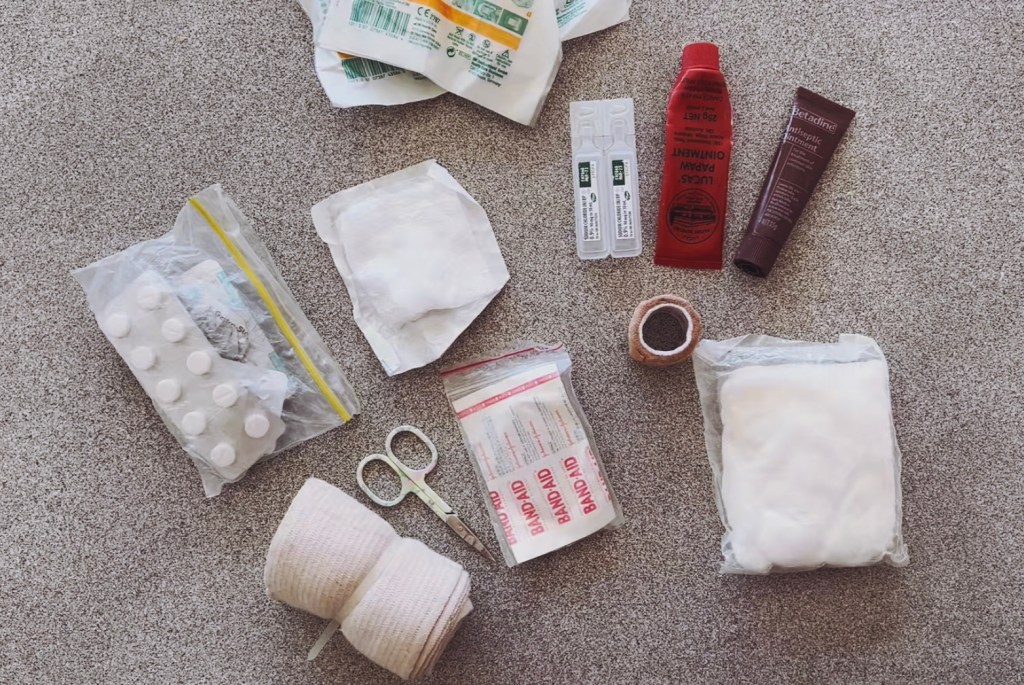
First Aid Kit
Carry the essentials to help stabilise an injury so to safely self-evac or wait until help arrives. Store this kit in a brightly coloured dry bag to easily locate it when panic hits in an emergency. This is what I use.
Blister Pads: Prevention is everything.
Snake Bandage: Yes, even in winter, as it is great for compression bandaging.
Gauze: Works for wound dressings
Saline: For eyes or cleaning wounds.
Splinter Remover: Small but useful for removing splinters, or draining blisters.
Strapping Tape: For hot spots or minor sprains.
Painkillers and Antihistamines: For bites, stings, or reactions.
Tampons: For periods, nosebleeds, fire starters.
Triangular Bandage: Versatile as!
*Splint: See below for more details
Emergency Kit
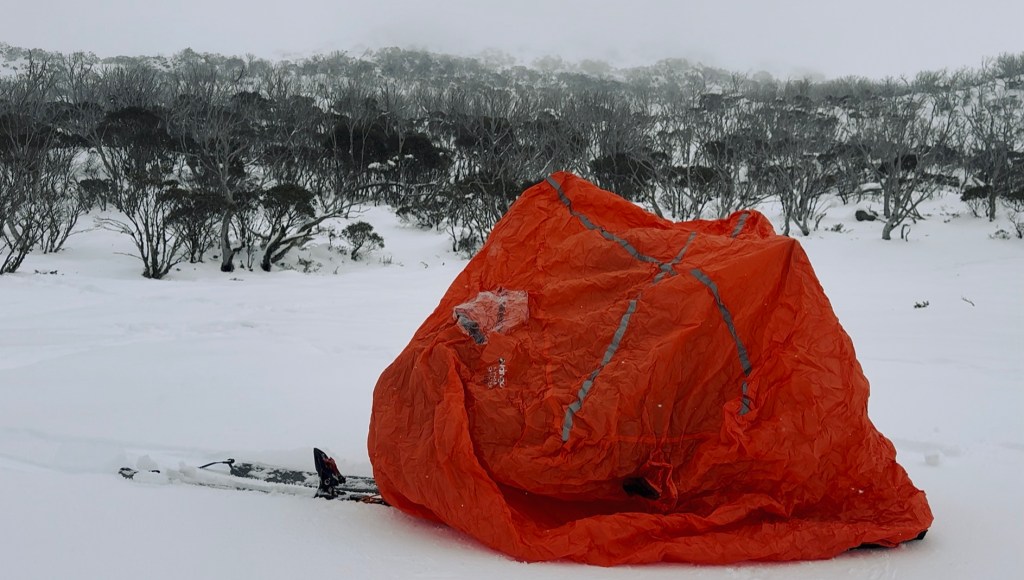
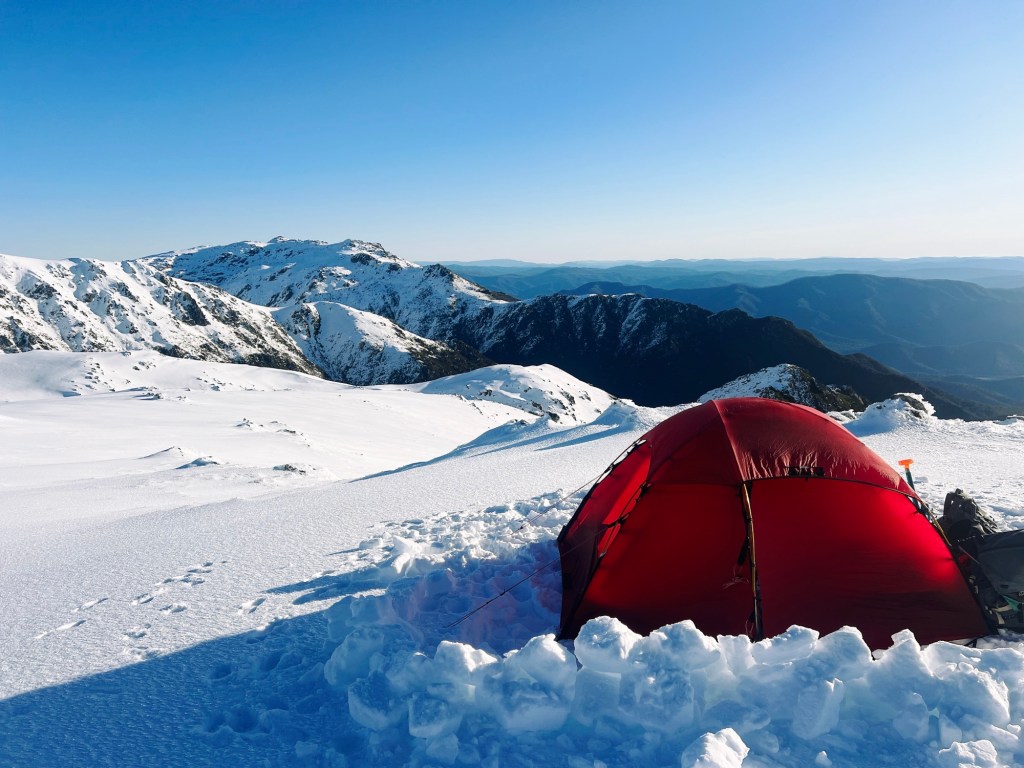
Emergency Shelter: Not only for when things go really wrong, but also makes for a pretty comfortable lunch hangout on a stormy day. This is what I use.
Emergency Communication Device: Personal Locator Beacon (PLB) or satellite phone with an SOS function. This is what I use.
Sit Mat: Doubles as a splint. This is what I use.
Backup Navigation: GPS or map and compass. Don’t rely on a phone alone. This is (the updated version) what I use.
Headlamp: Must-have for alpine starts or unexpected delays. This is what I use.
Power Bank & Charging Cord: Optional, but useful for old phones with a short battery life. This is what (size) I use.
Repair Kit
Surprisingly, this stuff gets used more often than you’d expect and it’s saved a backcountry trip or two along the way.
Spare Binding Strap
Extra Pole Basket
Cable Tie
Ski Straps
Duct Tape: I wrap mine around a lighter
Lighter/Matches
Multi-tool: Double check you have the right tool for your gear (and maybe some extra screws)
Spare Batteries
Toilet Kit
Not glamorous, but necessary. In alpine environments, you must carry all waste out including poo. For more details read here.
Trowel: For digging a cat hole if your passing through subalpine conditions. This is what I use.
Doggy Poop Bags: Yes, for you.
Toilet Paper: Please don’t leave this behind
Hand Sanitiser: Use liberally to avoid getting sick out there (or when you get home).
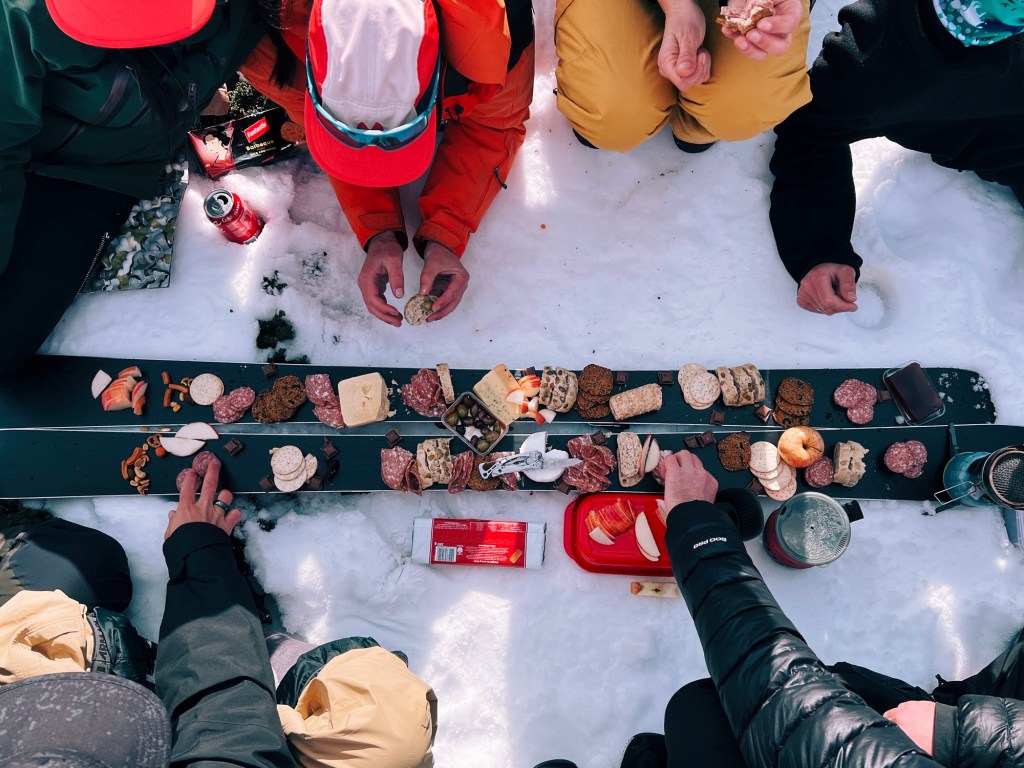
Food & Water
Snacks: Always pack more than you think. I usually bring granola bars, chocolate (lots of it), chess & crackers, lollies
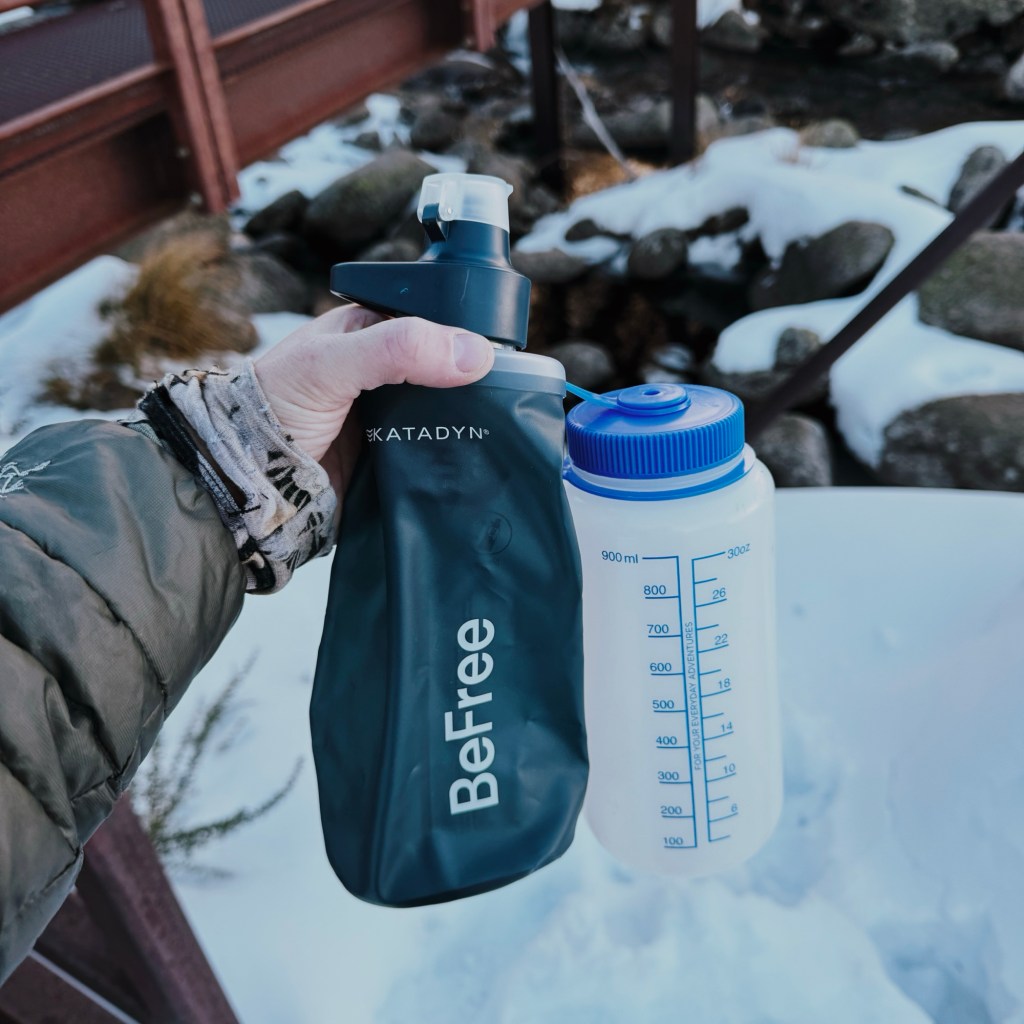
Water Bottle or Bladder: If using a water bladder, insulate the hose. This is what I use.
Water Filter or Purification Tablets: For refilling on the go. This is what I use.
Optional Extras
Boot Crampons: Optional, but necessary if you’re hitting steep, icy bootpacks. Check they fit over snowboard boots before heading out into the backcountry.
Ice Axe: Only necessary if the terrain demands it. This is what I recommend.
Stove: Hot lunch = high morale. Also handy for making an emergency hot water bottle (combined with a nalgene) to get you warm in a hurry. This is what I use.
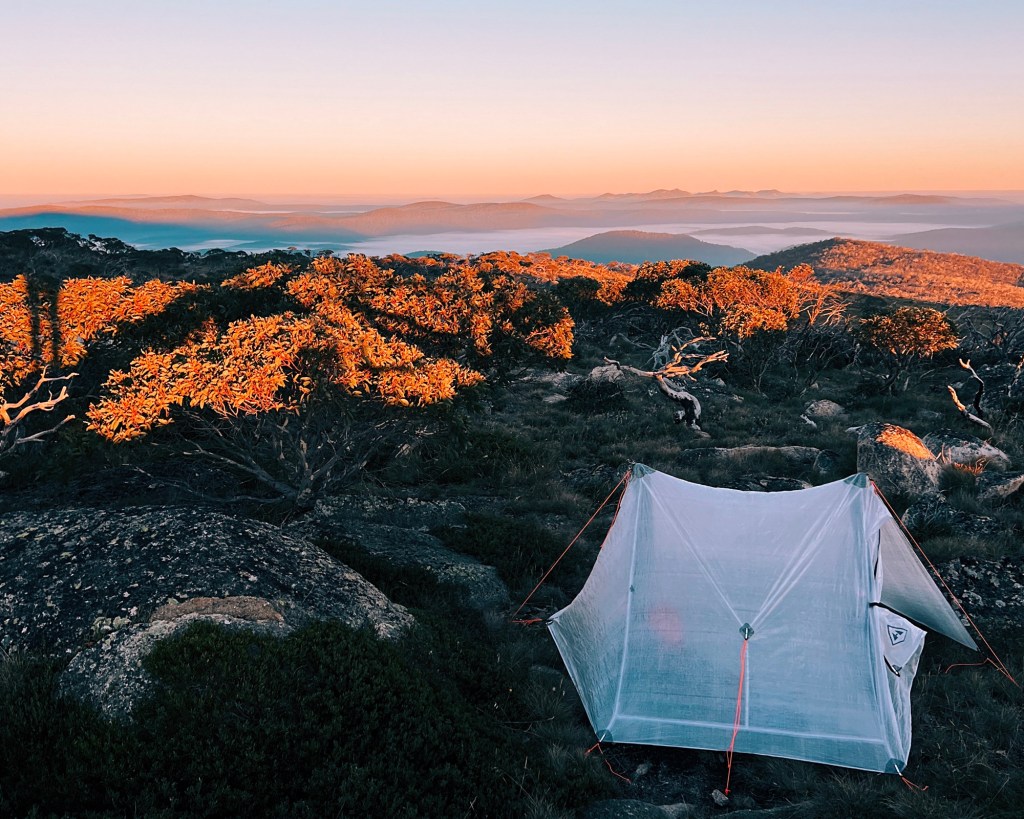
Heading Out for an Overnight Trip?
Your packing list just got a whole lot longer. Check out what I bring for snow camping in the backcountry: read here
Did I Miss Anything?
Got a favourite bit of gear I didn’t mention? Drop it in the comments! I’m always refining my kit and keen to hear what everyone else is taking into the backcountry.
For more backcountry content, head to my Instagram @katealiice
Disclosure: I am a WildEarth ambassador, which means some of this gear has been gifted or bought at a discounted rate from wildearth.com.au. I wasn’t paid to write this article, but where WildEarth products are linked, an affiliate code has been used. Everything written here is based on my own experience using this gear in the outdoors. Outdoor adventures carry risk, and Path & Pedal accepts no liability for injury, loss, or damage.


Leave a comment