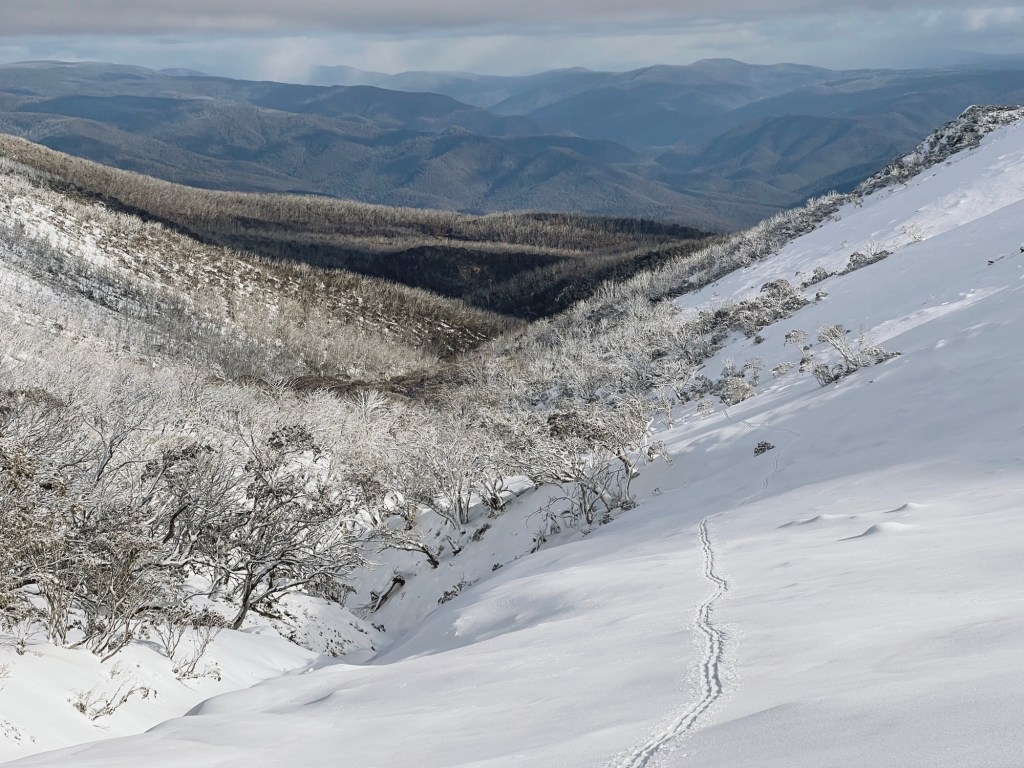
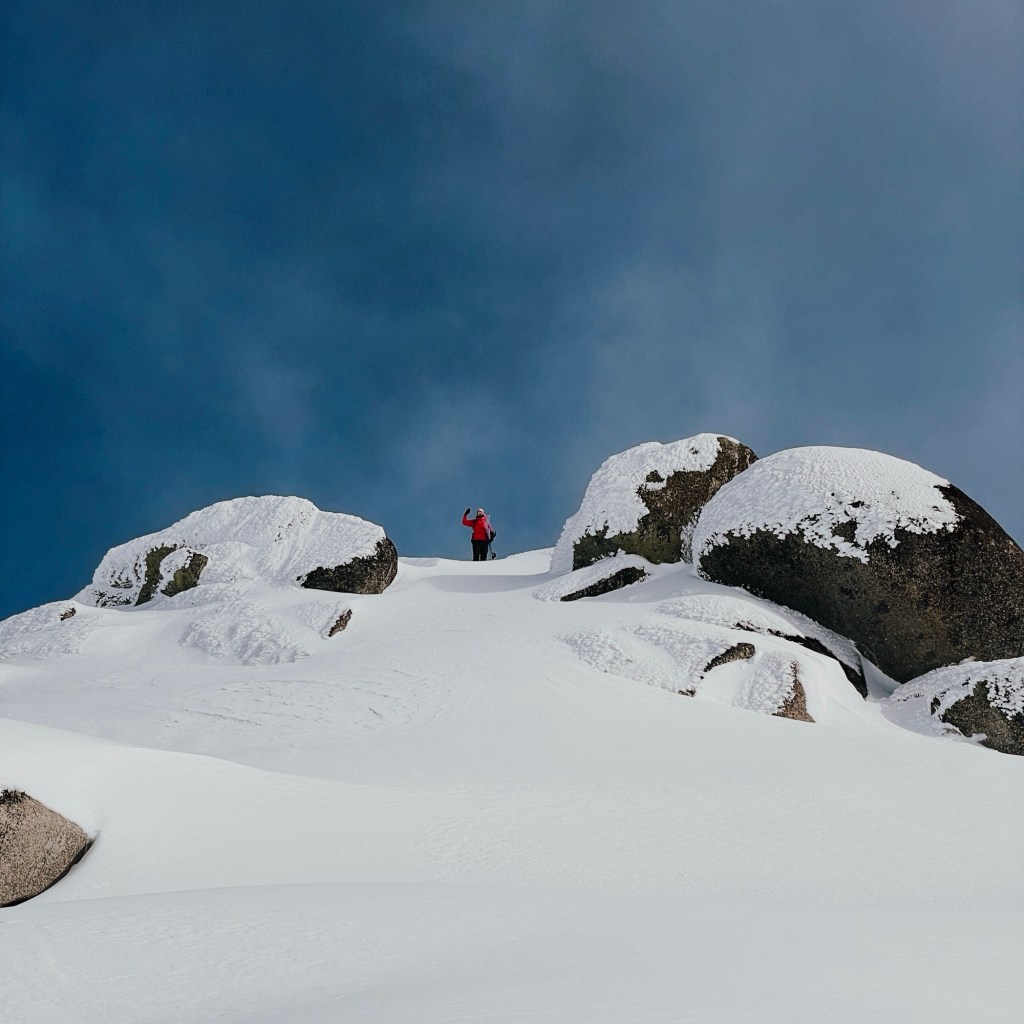
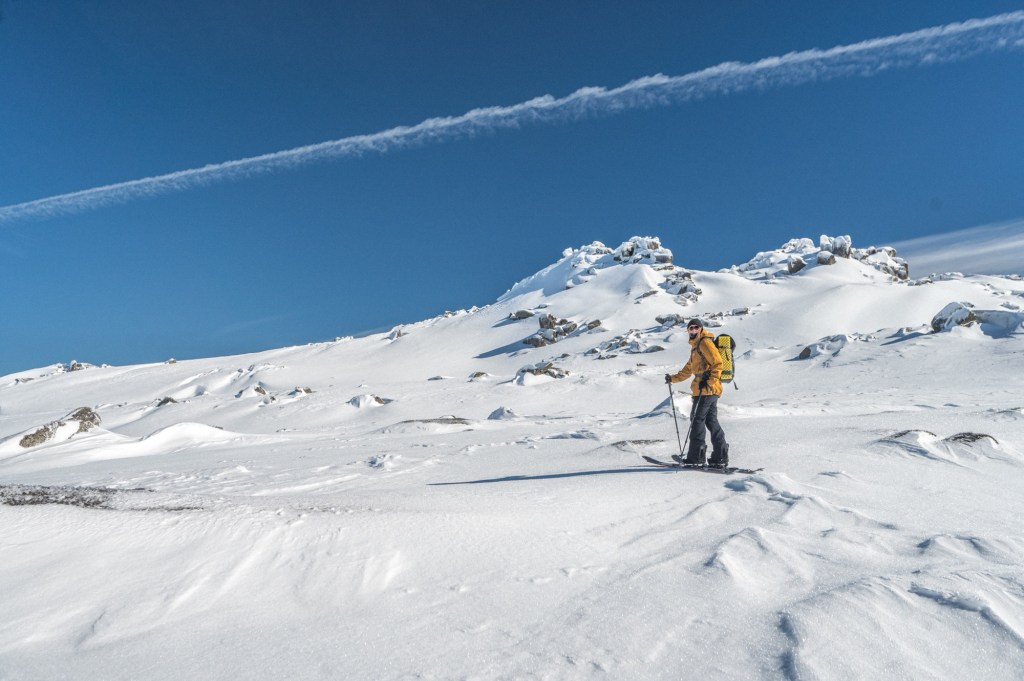
The backcountry opens up a whole new side of snowboarding that no chairlift can reach (literally and figuratively).
Think untouched powder turns, big-mountain views, and a sense of freedom that just doesn’t exist inside resort boundaries. As the saying goes “earn those turns”, but along the way you gain a whole lot more.
So where does splitboarding even begin? Right here. Whether you’re stepping beyond the resort for the first time, searching for touring tips, or just wondering what the hell a splitboard actually is, this guide has you covered.
Skip to:
- What is a Splitboard?
- Do You Need a Splitboard to Snowboard in the Backcountry?
- Where Can I Rent a Splitboard in NSW?
- How Good at Snowboarding Do You Need to Be to Start Splitboarding?
- How Fit Do You Need to Be for Splitboarding?
- Do You Need to Know How to Ski to Use a Splitboard?
- Should I Hire a Guide for Backcountry Splitboarding?
- When is the Best Time to Go Splitboarding in Australia?
- How to Plan a Backcountry Splitboard Tour
- How to Find Splitboarding Routes in Australia
- Where to Start Splitboarding in Australia
- How to Meet People to Go Splitboarding With
- What Gear Do You Need for Splitboarding?
- How Icy is the Snow in Australia?
- Do Avalanches Happen in the Australian Backcountry?
- Courses to Take Before Going into the Backcountry
- Is There Phone Reception in the Backcountry of Australia?
- Where Do I Go to the Toilet in the Backcountry?
- Etiquette in the Backcountry
What is a Splitboard?
In short, it’s a snowboard that splits into two skis so you can walk uphill. But there’s a bit more to it.
The bindings slide off so the board can unclip and separate. In tour mode, the bindings face forward and let your heel lift freely, just like a frame binding on a ski touring setup. Then, climbing skins are attached to the base. These are long strips of fabric with glue on one side and fuzzy fibres on the other. They grip in one direction and glide in the other, giving you uphill traction without sliding backwards.
Add some hiking poles and you’re officially earning your turns. At the top, the whole setup snaps back into snowboard mode: skins off, skis clipped together, bindings locked in. Just like magic!
Do You Need a Splitboard to Snowboard in the Backcountry?
Plenty of snowboarders start out with snowshoes. They’re simpler to use and don’t require the full commitment of a whole new setup. Snowshoes work well on short day trips, but once the distances get longer, they feel slow and clunky. Without the glide of a splitboard, every uphill step takes more energy. Nothing builds character quite like punching knee-deep holes through early-season shrubbery.
Where Can I Rent a Splitboard in NSW?
Shops like Rhythm Snowsports in Cooma and ESS Boardstore in Jindabyne rent out splitboards, poles, skins, and even full avalanche safety kits. Just make sure to book ahead if you’re heading out on a weekend in peak season as they get snapped up fast. Some stores will even take the rental price off a new setup if you decide to buy after you try.
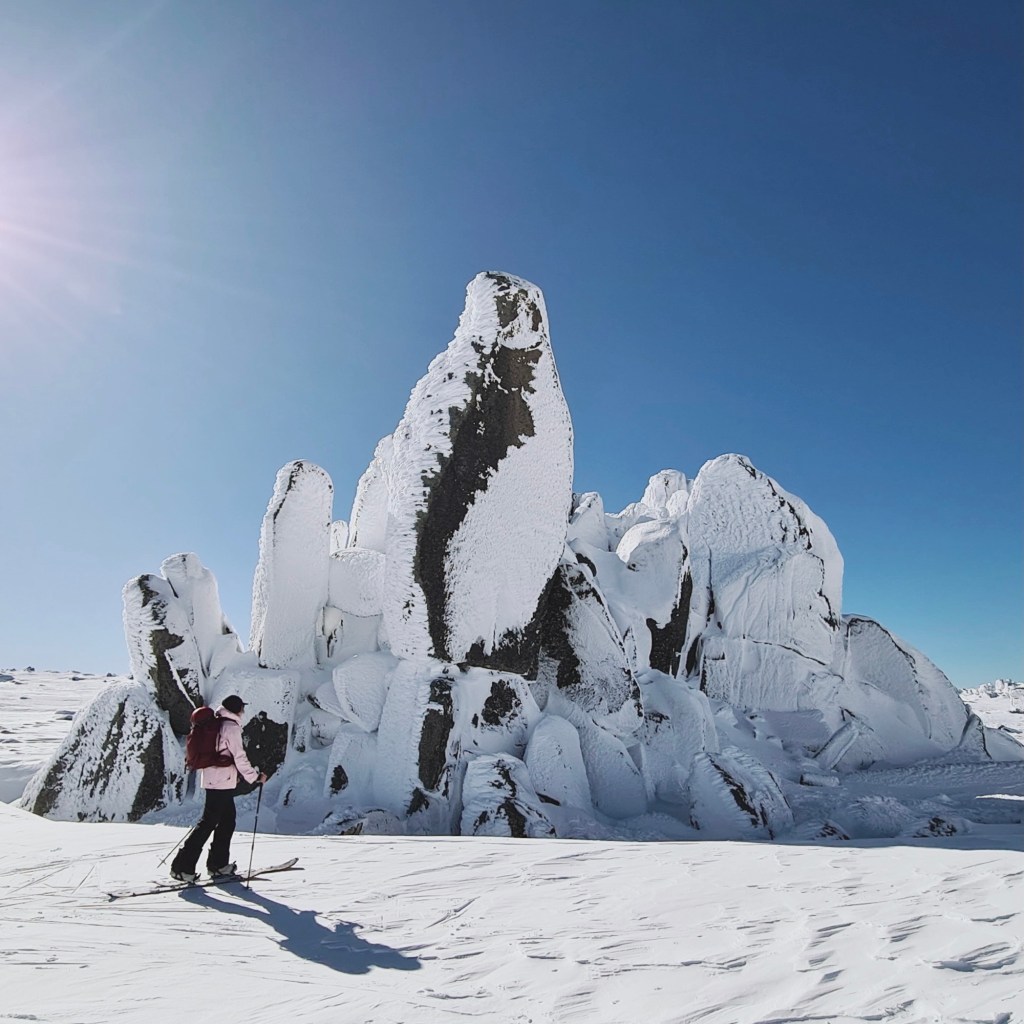
How Good at Snowboarding Do You Need to Be to Start Splitboarding?
There’s no grooming out there, no signs marking hazards, and no 4 pm sweep from ski patrol. While the backcountry can have slope angles as mellow as a green run, the snow itself is a different beast. One face can hold windblown powder, crust, and ice, all at once. It’s not the place to learn how to snowboard. Build some confidence in the resort first, especially off-piste and in mixed conditions. The more comfortable you are on variable snow, the more fun you’ll have beyond the ropes.
How Fit Do You Need to Be for Splitboarding?
Splitboarding is hard work. Each step means hauling weight, both underfoot and in a pack, up the side of a mountain. Having a good baseline fitness helps. That doesn’t mean a full suffer-fest straight off the bat. Short laps near the resort are perfect for building strength and skill. Just make sure there’s enough left in the tank to get back home safely.

Do You Need to Know How to Ski to Use a Splitboard?
Split-skis feel awkward at first so expect some bambi-on-ice moments. Cross-country trails are a good place to get a feel for touring mode. Just stick to the corduroy and off the set tracks unless you enjoy being scolded by Lycra-clad skiers.
Sidehill traverse will always be a splitboarders nemesis. Soft snowboard boots don’t offer much edge control. Some opt for a hardboot setup to overcome this issue. If you want to go down that path, read this.
Should I Hire a Guide for Backcountry Splitboarding?
If you’re confident reading maps, picking safe lines, and managing variable snow, going unguided is totally fine. But a guide on your first trip can speed up the learning curve massively. They’ll help with decision-making, point out hazards, and share handy tips that you might never learn otherwise. It’s an investment, but a valuable one. See my local NSW guide recommendations below.
When is the Best Time to Go Splitboarding in Australia?
On the Main Range of Kosciuszko National Park (NSW) there is snow on the ground from late May until early October, depending on the year.
Early season (June) can be lean, with patchy coverage and plenty of hazards like exposed rocks and half-buried bushes. August is your best bet for consistent snow and full coverage, but the weather can be pretty wild. Personally, my favourite time to tour is September. Australia gets some epic spring touring conditions, with milder weather and a stella corn harvest.
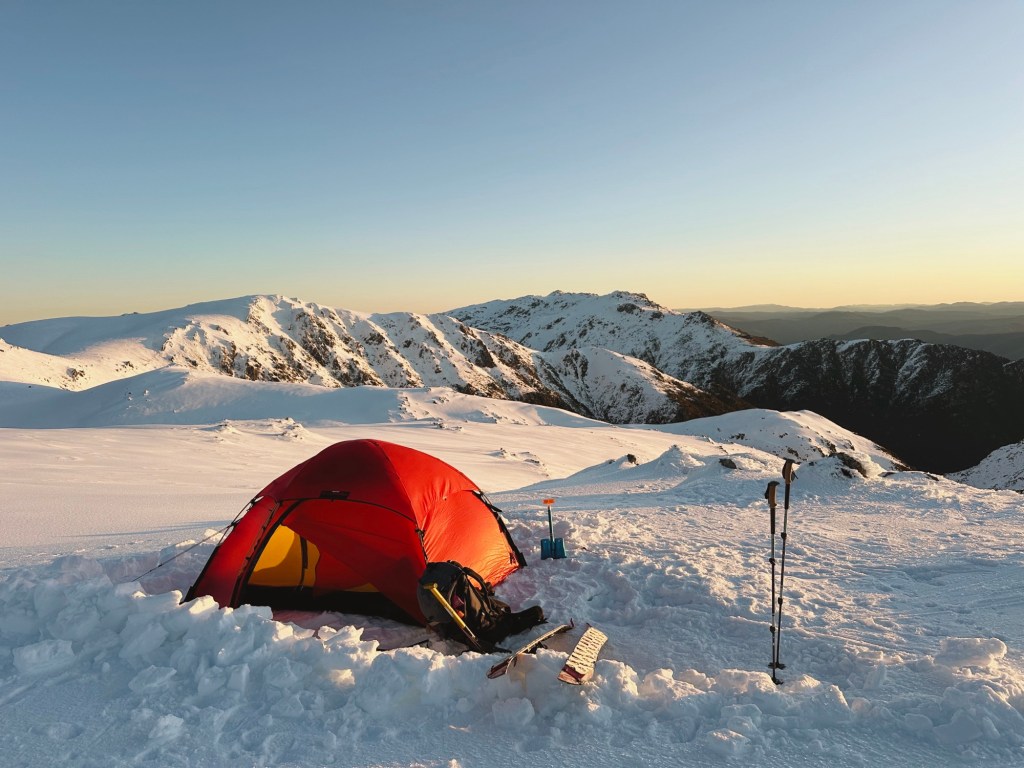
How to Plan a Backcountry Splitboard Tour
Check the weather forecast, then check it again. Conditions change fast in the alpine. What looks good a week out might shift the night before. Wind often gets overlooked but makes or breaks a tour. A powder dump isn’t much fun if it’s been stripped by 80 km/h gusts.
On the day, check live snow cams from nearby resorts for real-time views. The Mountain Safety Collective (MSC) website posts regular snow condition reports tailored to Australian backcountry zones. Once out there, don’t be afraid to bail if you’re not vibing the conditions, the route, or the weather. Save that line for another day.
How to Find Splitboarding Routes in Australia
Getting familiar with an area in summer can pay off once it’s buried under snow. That dreaded hill climb in December could be a dreamy descent in July.
The MSC sell a great map showing skiable terrain, hazard zones, and access points. Strava’s new layers are also handy for scoping lines, with avalanche gradient and aspect overlays available on the paid subscription.
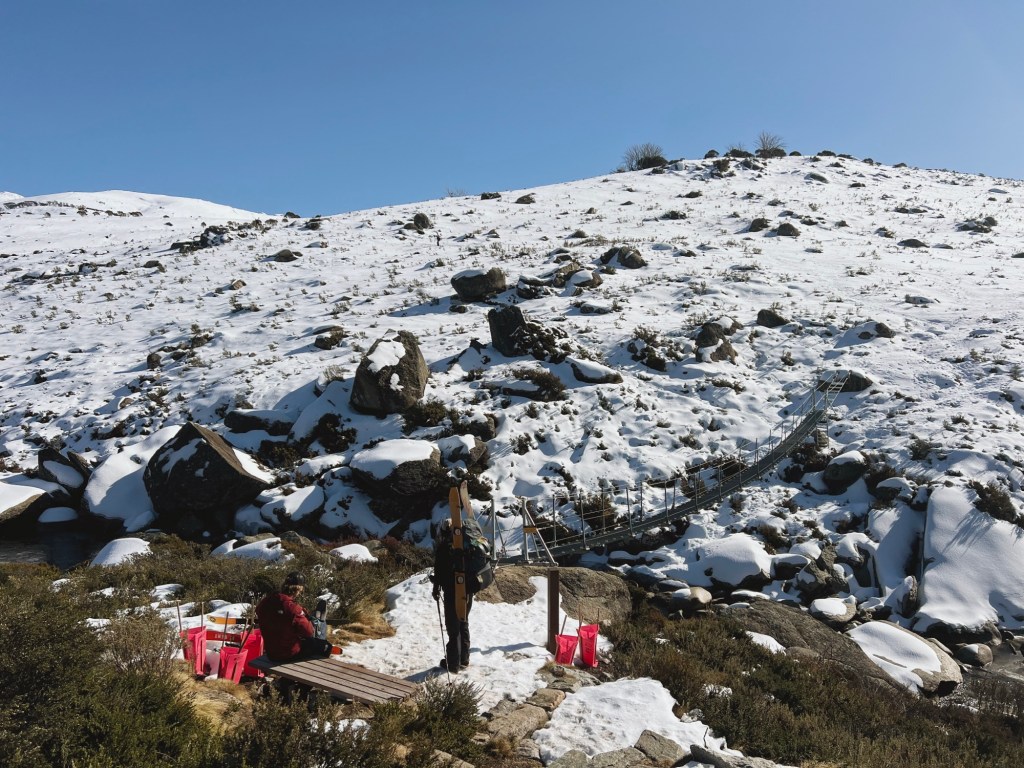
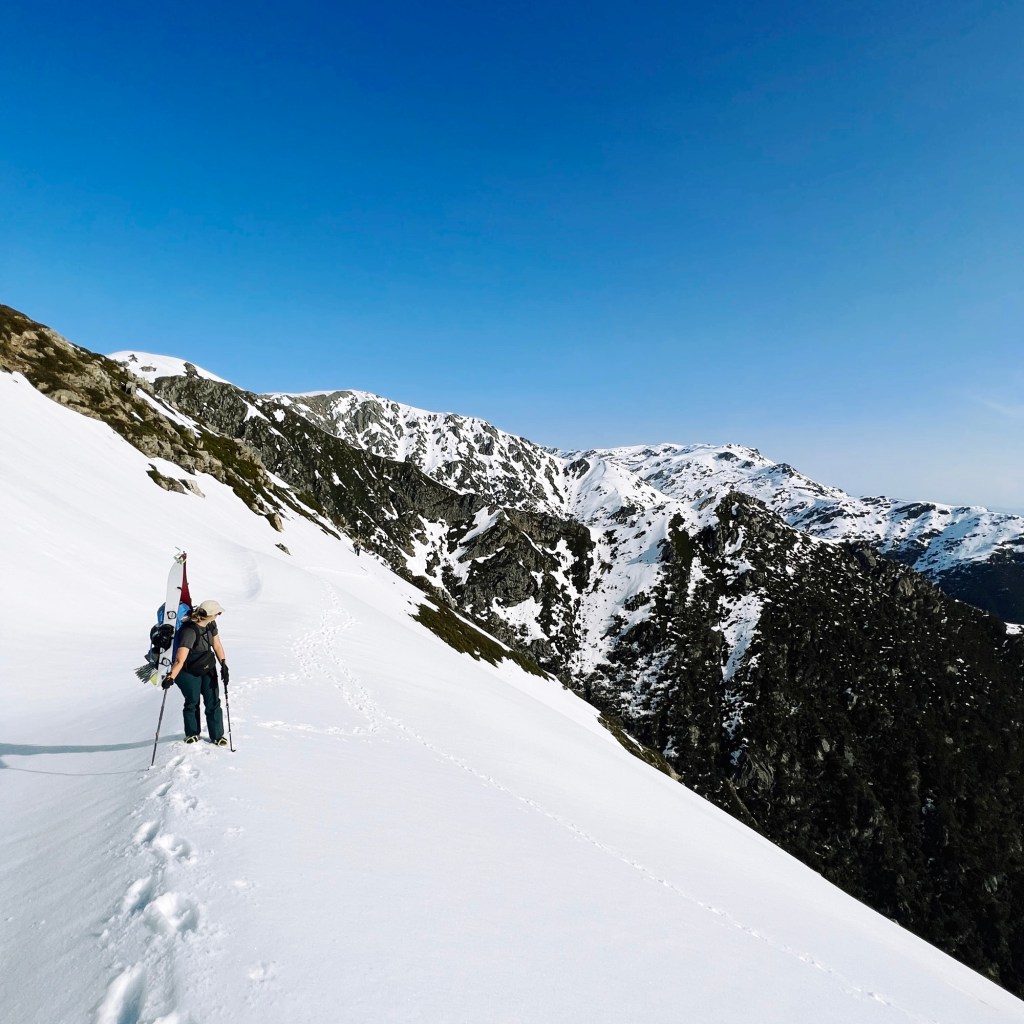
Where to Start Splitboarding in Australia
Beginning close to resorts adds a safety buffer. If the weather turns or gear fails, it’s easier to retreat. These areas are great for beginner backcountry travellers:
- Signature Hill (NSW): Easy skin from the top of Kosciuszko chairlift at Thredbo. Can get there without a pass, but easier with a Thredbo Backcountry Pass. Quite exposed in poor weather.
- Mount Wheatley (NSW): Accessed from Perisher carpark (no pass required). Gentle climbs and descents, relatively sheltered. Best during the peak season.
- Guthega Trig (NSW): Accessed from Guthega carpark (no pass required). Across the Guthega Dam, low exposure.
- Mount Mackay (VIC): Reached via the Ruined Castle chairlift at Falls Creek. Can get there without a pass, but easier with a lift pass. Not recommended in poor weather.
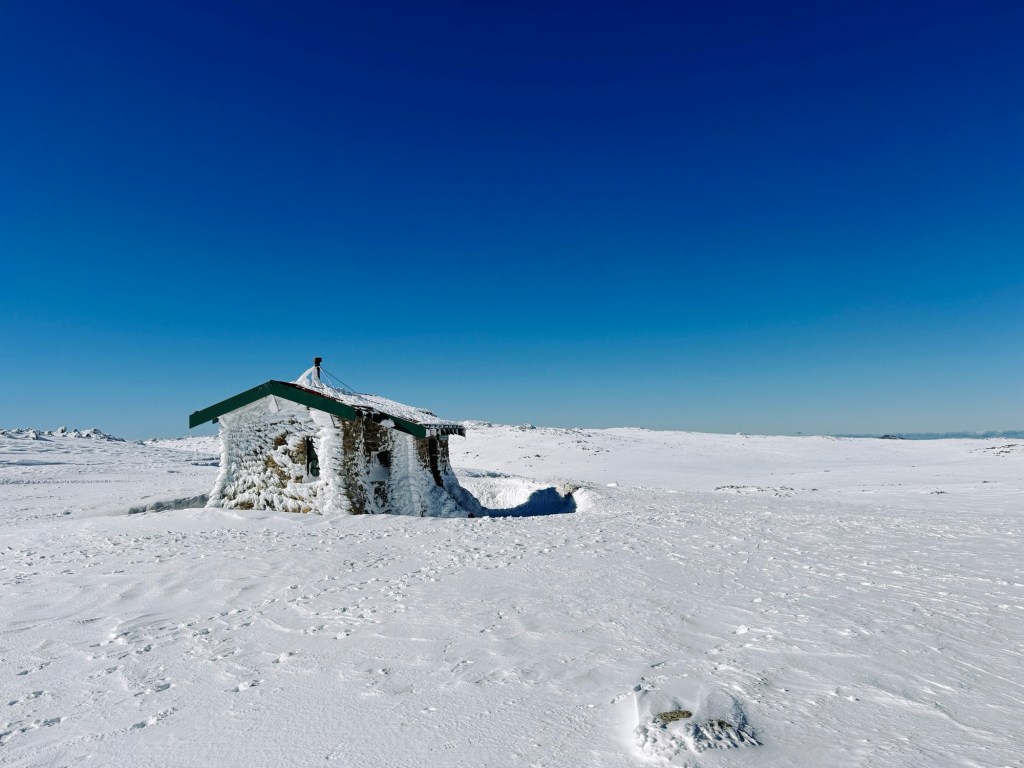
- Mount Stirling (VIC): On the drive up to Mount Buller (no pass required). Has the added comfort of alpine huts and even ski patrol in the area.
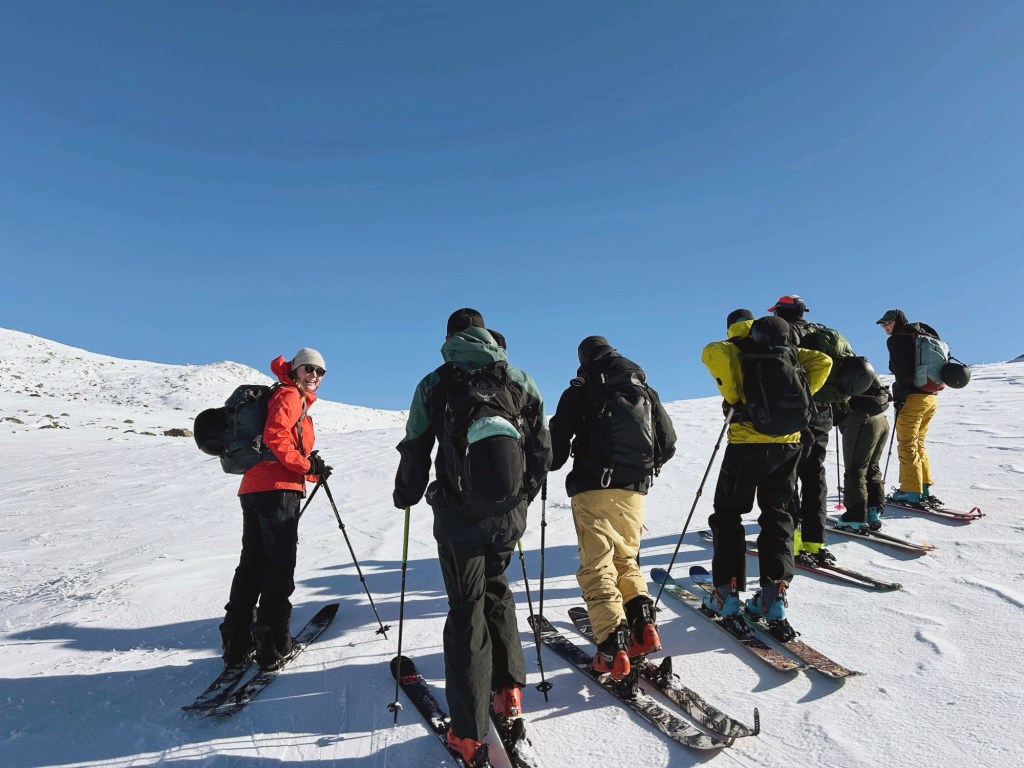
How to Meet People to Go Splitboarding With
Australia has a great backcountry community. Facebook groups like ‘Australian Backcountry’ and ‘Backcountry Women of Australia’ are good places to start. If you want to meet people the old-fashioned way, head to MSC info nights or film events like Warren Miller, Banff Film Festival or Arc’teryx Film Festival. There’s also the ‘Australian Backcountry Festival’ and ‘Splitfest DownUnder’ events. Tough Tits Co runs meet-ups and community events for women and gender-diverse skiers and boarders in both Australia and New Zealand.
What Gear Do You Need for Splitboarding?
Always prepare for worst-case scenario, even if it’s just a short day. This is my backcountry packing list of everything I take splitboarding.

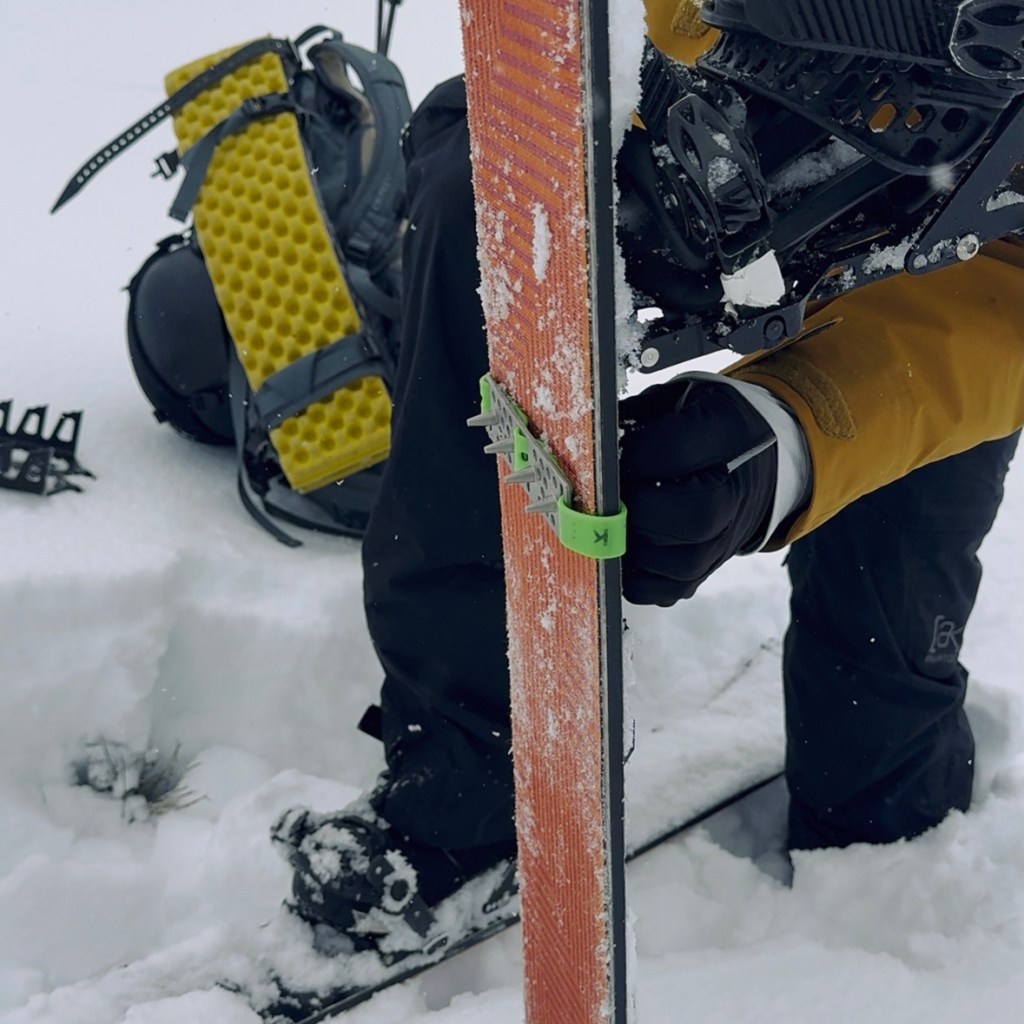
How Icy is the Snow in Australia?
The Aussie Alps has a bad reputation for being icy, and yeah, sometimes it’s deserved. Our winters tend to be warmer than other alpine regions around the world, which means more rain and wet snow that can freeze overnight. That said, it’s not all bulletproof boilerplate. You can absolutely score dry powder, smooth spring corn, or dreamy snow gum glades if you time it right.
As a precaution, I always carry splitboard crampons or ski cleats (skeats). They’re a game-changer on icy skintracks or sketchy sidehills. Helmets are a must too. Statistically, head injuries are more common than avalanche injuries in the Australian backcountry.
Do Avalanches Happen in the Australian Backcountry?
Cornices break. Wind slabs form. Wet slides, well, slide. While it’s less frequent than overseas, avalanches still happen in Australia. Always carry avalanche safety gear: beacon, probe, and shovel. Knowing how to use them is just as important as having them in your pack.
Courses to Take Before Going into the Backcountry
The AST1 (Avalanche Skills Training Level 1) course is a great place to start. It covers the essentials: avalanche rescue, terrain selection, and basic snow science. Blizzard Academy run AST1 and AST2 courses here in the Snowy Mountains. Arc’teryx also host lower cost community events like “Think Like a Guide” and many other skills clinics.
It’s also worth having first-aid training for any outdoor activity. A standard course is useful, but Wilderness First Aid is even better. It teaches you how to manage injuries when help is hours away.
Guided trips are one of the best ways to build confidence and skills. My friends Leah and Lewis Foster run K7 Adventures, offering custom backcountry trips across the Main Range, tailored to your goals and experience level. Shameless plug, but I tour with them often, and trust them with my life in the backcountry.
Is There Phone Reception in the Backcountry of Australia?
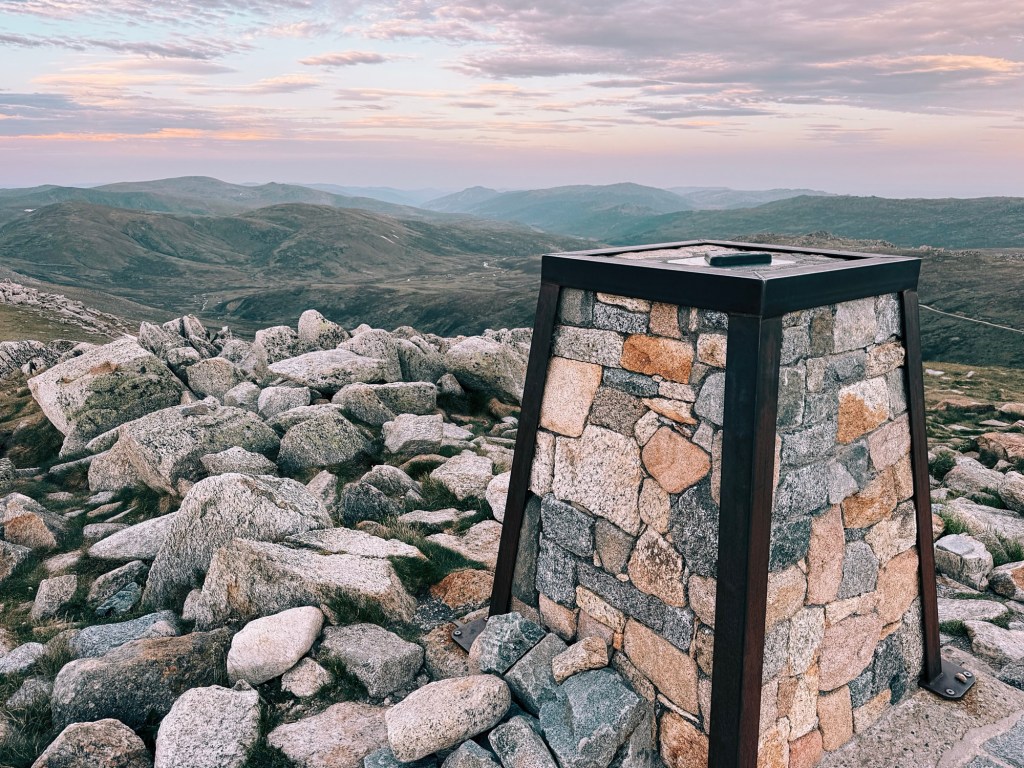
You might get patchy phone service on exposed ridgelines or high points like Mount Twynam or Mount Kosciuszko. But once you drop into gullies or bowls, it’s usually a dead phone zone. I always carry a form of emergency communication, either a satellite phone or a personal locator beacon (PLB) (these are different from an avalanche transceiver/beacon).
Where Do I Go to the Toilet in the Backcountry?
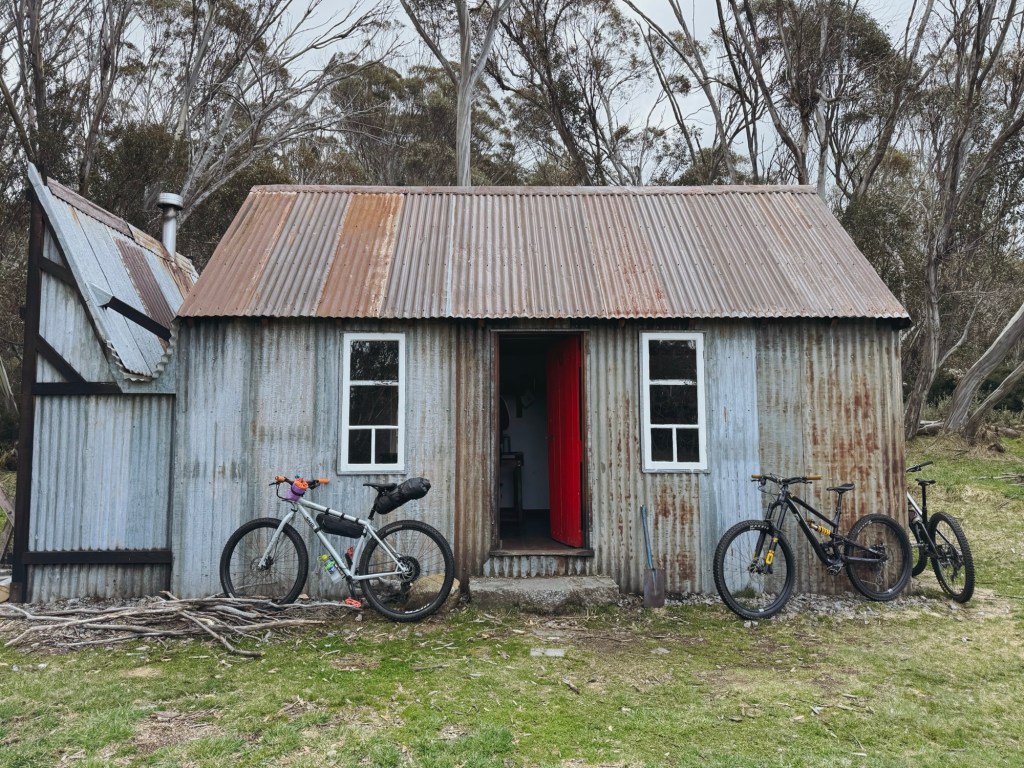
If you’re lucky enough to have a backcountry hut on your route, then make the most of its toilet (if it has one). In the alpine zone, you need to carry out everything you bring in, including your poo. In the sub-alpine, cat holes are permitted. That doesn’t mean just burying it under the snow. Read this Hiking Hygiene Guide for more info.
Etiquette in the Backcountry
Skin-tracks work best when they’re smooth and well set, so try not to mess them up. If you’re on snowshoes, set your own trail beside the skintrack to avoid punching holes through it.
At the top of a line, whoever arrives first has priority for dropping in. Let them transition without pressure, there’s plenty of fresh turns to go around.
A little trail courtesy goes a long way in keeping the backcountry friendly and welcoming for everyone.
Still got questions? Drop a comment or flick me a message on Instagram @katealiice. You’ll find more backcountry tips, honest gear reviews, and a healthy dose of stoke.
Disclaimer: Content on Path & Pedal is for general information and inspiration only. All route guides and trip reports are based on personal experience and research at the time of writing. Conditions, access, weather, and regulations can change. Always check official sources and use your own judgment. Outdoor adventures carry risk, and Path & Pedal accepts no liability for injury, loss, or damage.


Leave a comment